The Hunter Houses Complete Guide to DIY Plywood Floors
By popular demand, here is The Hunter Houses Complete Guide to DIY Plywood Flooring! if you have some free time, want inexpensive flooring, and don’t mind a good DIY project, then plywood flooring may be for you! We’ve watched hours of Youtube tutorials about ripping down plywood, the best rentable floor sanders, and the different types of stain to use specifically for plywood. I may or may not be in a Facebook group dedicated to all things gel stain.
We aren’t professionals. Just some DIYers that have renovated a few homes and have learned a lot along the way. So, without further ado, here is our quick guide for making your own DIY plywood floors:
Choose your plywood wisely
We used 4x8 ft sheets of 15/32 3 Ply-CD-Plywood. We bought 25 sheets and ended up using 22 of them for approx 750 sq ft. We paid $656 for the 25 sheets including a $15 delivery fee from our local ACE hardware which comes to $25.64 per sheet or about $0.87 per square foot in wood materials. Turns out the wood was much cheaper than from Home Depot or Lowes so call around to a few lumber yards to compare prices.
We ripped the boards down into three sizes because we preferred a varied width look for the larger living space. We then used only thin boards for the bedrooms, which are much smaller spaces. You can do any width you like, just keep in mind the wider the boards, the more potential for the zebra effect of plywood to come through.


We decided on 3.5 inches, 4.75 inches, and 6 inches, after figuring out what visually looked best to us and calculating how many boards we could get out of one sheet of plywood. Keep in mind you will lose a little width of the board from the cuts of the saw so factor that in accordingly.
We screwed together 4 sheets of plywood so we could efficiently cut more at a time. We measured for the first width and then used those cut boards to trace where the next cut should be. This took some time and focus but was easy once we got going.


Prepping the floors.
We took the time to sand the sides of the boards prior to laying them because we wanted to round the edges a bit to make them look more like standard flooring, not just planks of lumber, and also so any dust wouldn’t get caught up on the rough edges between the boards. We hope this will make for easier cleaning in the future. It was a well spent $20 of sandpaper here, which comes down to another $0.03 per sq ft.

Prepping the subfloors.
First, you want to make sure your subfloors are intact, replacing any rotten or damaged floor that may cause stability issues down the line. If you see any nails or staples make sure to remove or hammer them in, to start with a flat, clean surface. Luckily, our subfloor was in good shape so we didn’t need to spend additional money here.
Once your subfloor is prepped, There are a few different types of materials to use for the base layer on top of your subfloor and under your flooring.
A vapor/moisture barrier helps prevent moisture from coming up through your floors (especially if a basement or crawl space is below) and also prevents any spills from seeping down from above, in both instances damaging and rotting your subfloors. There are different levels of permeability for moisture barriers and we wanted something semi-permeable because if it is not permeable at all we read it can actually trap the moisture and cause more issues.
Underlayment can also help prevent moisture problems, reduce noise and helps insulate. It comes in felt, cork, foam, and rubber among other types.


We went with a combination product, Aquabar-B, that does both and seemed to be highly recommended among professionals in the online floor laying forums (of which we are now proud members). We bought and used just under 2 rolls which cost us another ~ $54.48 total for 1,000 sq ft of product, or added another $0.07 cents per sq ft.
If you have access to your crawl space you can also add a vapor barrier (aka plastic sheeting) on top of the ground to prevent any moisture from rising up.
We layed the Aquabar B out in rows, overlapping each row the recommended 4-6 inches. You can seal the seams with an underlayment tape. Now it’s time to get started!
Attaching the flooring
There are a few ways to attach flooring. If you are using adhesive you can use a trowel and spread it on like you would mortar for tile, either the whole length of the boards on your underlayment, or smears every 10-12 inches or so, perpendicular to the boards. We decided to go with the “serpentine” method, and use caulked glue applied directly to the backs of the boards in a snake like pattern. We used construction liquid nails and went through about 15 tubes for our 750 sq ft. This adds another $0.09 per sq ft for our project.


We used a DIY spacer (aka thin piece of wood) to ensure the same amount of space was left between boards. We’ve seen other people use a penny or something of the like. plywood is an engineered wood so you don’t have to worry about expansion as much as you would other types of wood but we decided we prefer the look of a little space. We also left about a ½ inch border around the perimeter of the room.
Laying the floors.
We laid the boards all out next to each other to see what looks best and ended up with a general pattern of one wide, one medium, and two small boards.
We staggered the board rows, starting at one end of the room with a half board then laying the next one in the row until we got all the way to the other end. For the next row you can use whatever length you have left from the previous row that you cut to fit or you can start with a new one. The idea here is to make the seams and pattern look as random and evenly distributed as possible. After each row we took a step back to see the floor as a whole, and made decisions about the next row accordingly.


We used 1.5 inch 18 gauge brad nails to secure them down and tried to place the nails pretty evenly about every 8-10 inches or so. We used about 5,000 (!) nails which comes to just over $30 or another $0.04 per sq ft.
Pro tip: stomp (or gallop) around a bit on the boards after laying them down so they evenly press into the subfloor. This will help prevent warping down the line.


Distressing and sanding.
We distressed the floors a bit with a utility knife and hammer to give the boards some character prior to sanding.
After they were thoroughly beat up, We used the American Sanders OBS-18DC (that we rented from home depot) and did three passes- two of 80 grit and one of 120 grit. They were baby butt smooth after that! We had considered renting a standing orbital floor sander but were recommended this model instead since we didn’t want to take a lot off the top of our plywood and risk messing up the lamination. We paid another $80 in sandpaper for the rented sander so including the rental, another $0.21 per sq ft.


Clean up
We used our wet/dry shop vac to vacuum everything really well (a few times) and then a slightly damp mop with a bit of Mineral Spirits to make sure all the sawdust was removed. This is very important so that you don’t get sawdust and debris mixed in with the stain!
Staining
Okay, the fun part. Which color? We quickly realized gel stain is best for plywood flooring since the more common, penetrating stain, sinks down deeper into the grains and would probably make the zebra effect of the plywood more pronounced. Think of gel stain as sitting on top of the wood more which tends to resist blotching.
The problem we ran into is gel stain is hard to find. Consider ordering this ahead of time to your local hardware store, Home Depot etc. The lightest, non-warm color we could find was Minwax Aged Oak but we had to call around to a few stores to scrounge up enough to do our job. We ended up using almost 5 cans for our home (and this was thinning it down with mineral spirits). The stain cost $19.99 for a quart and with two gallons of KleanStrip Mineral Spirits at $15.97 each that adds another $0.18 per sq ft to the project.


We couldn’t find many instances of people thinning their gel stain down online but knew even the Aged Oak was still a little too dark. So after a bunch of test samples we decided to dilute the stain with 50/50 mineral spirits. Gel stain can be super thick and viscous but when you agitate or stir it (a lot), it becomes much thinner and easier to mix with the mineral spirits.
We used a 3 inch soft bristle brush to apply the stain, taking care to get it in the cracks between the seams and then wiping it off about 30-60 seconds later with some stain rags we bought (essentially strips of cotton t shirts). You’ll go through a few packs of these because they get saturated and are no longer useful.


We read that it’s VERY important to lay the rags out flat outside to dry because if they are left balled up they could spontaneously heat and could catch fire! Have. Whether that’s true or not, better safe than sorry!
Seal it.
There are a lot of different sealants used for flooring but the main two we were considering were oil-based polyurethane and water-based polyurethane.
Oil-Based Poly tends to take longer to dry (8-10 hours between coats) and dries with a warm hue and yellows over time, which can alter the look of your stain. It also releases a lot of VOCs so the fumes are high. Oil-based does tend to be very durable and is probably less expensive.
Water-Based Poly dries clear and quickly (about 3 hours between coats) with low VOCs and odor. It is thought to be less durable so it requires more coats. It is also about twice the price as oil-based.


Knowing all of this, we chose to use a water based poly because the most important thing to us was that it dries clear and does not have the amber effect of the oil-based. We did four coats and used two gallon cans of Varathane Water Based Poly in Crystal Clear Semi-gloss, at $49.98 a can, it adds another $0.13 per sq ft to our total cost. We didn’t want a lot of sheen so felt the Semi-gloss would be a good happy medium between gloss and satin but it seemed to dry more of what we would consider a satin finish. We’re happy overall but we probably could have gone with gloss.
It is important not to shake the cans when prepping to apply, but rather to stir to avoid creating small bubbles that could prevent the product from going on smoothly. I used a stain applicator pad screwed to a wooden pole to apply the poly. We did about 3-4 planks at a time, ensuring even coverage, then used a small 2 inch soft bristle brush to brush out any dripping/excess poly in between the planks and seams. I know this would have dried clear but I didn’t want to see drips down between the boards.
That’s it! We ended up waiting about 4-5 hours between each coat since the floors still seemed a bit tacky with less time. they will take about two weeks or so to fully cure so we will be careful until then!


Here is the cost breakdown per sq ft to DIY Your own plywood floors:
$0.87 plywood
$0.03 sandpaper to sand edges
$0.07 underlayment/moisture barrier
$0.09 floor adhesive
$0.04 nails
$0.21 sander rental with sandpaper
$0.18 gel stain and mineral spirits
$0.13 water-based poly
$0.05 misc materials (brushes, rags, applicators, poly tray, buckets)
Grand Total: $1.67 per sq ft
(compare this to the $10/sqft we were quoted by a professional flooring installer)
Materials We Used for 750 sqft:

Plywood (22 sheets of 4x8 ft 15/32 CD 3 Ply Plywood)

4 stain applicator pads to apply poly screwed onto a broomstick

circular saw for ripping down the boards

Sandpaper (hook and loop sanding discs in 100 grit) pack of 50

Liquid Nails Subfloor 28 oz (we used 15 tubes)

Paintbrushes (4, 3 inch soft bristle brushes for stain application, 4, 2 inch soft bristle brushes for poly dripping clean up).

-Professional floor sander rental (we used the American Sanders OBS-18DC) and bought the recommended accompanying sandpaper in 80 grit and 120 grit

Aquabar B Underlayment/Moisture Barrier (we used about two rolls)

Brad nailer (we have a Porter Cable 20V Max Cordless Brad Nailer) and 1.5 inch 18 gauge brad nails (about 5,000 nails)

Orbital sander (we have a Bosch 3727DEVS 3.3 Amp 6 inch hook and loop random orbital sander) It’s our number 1 tool for turning ordinary wood into something special

2 1 gallon cans of Mineral spirits and A couple of buckets to mix the stain in

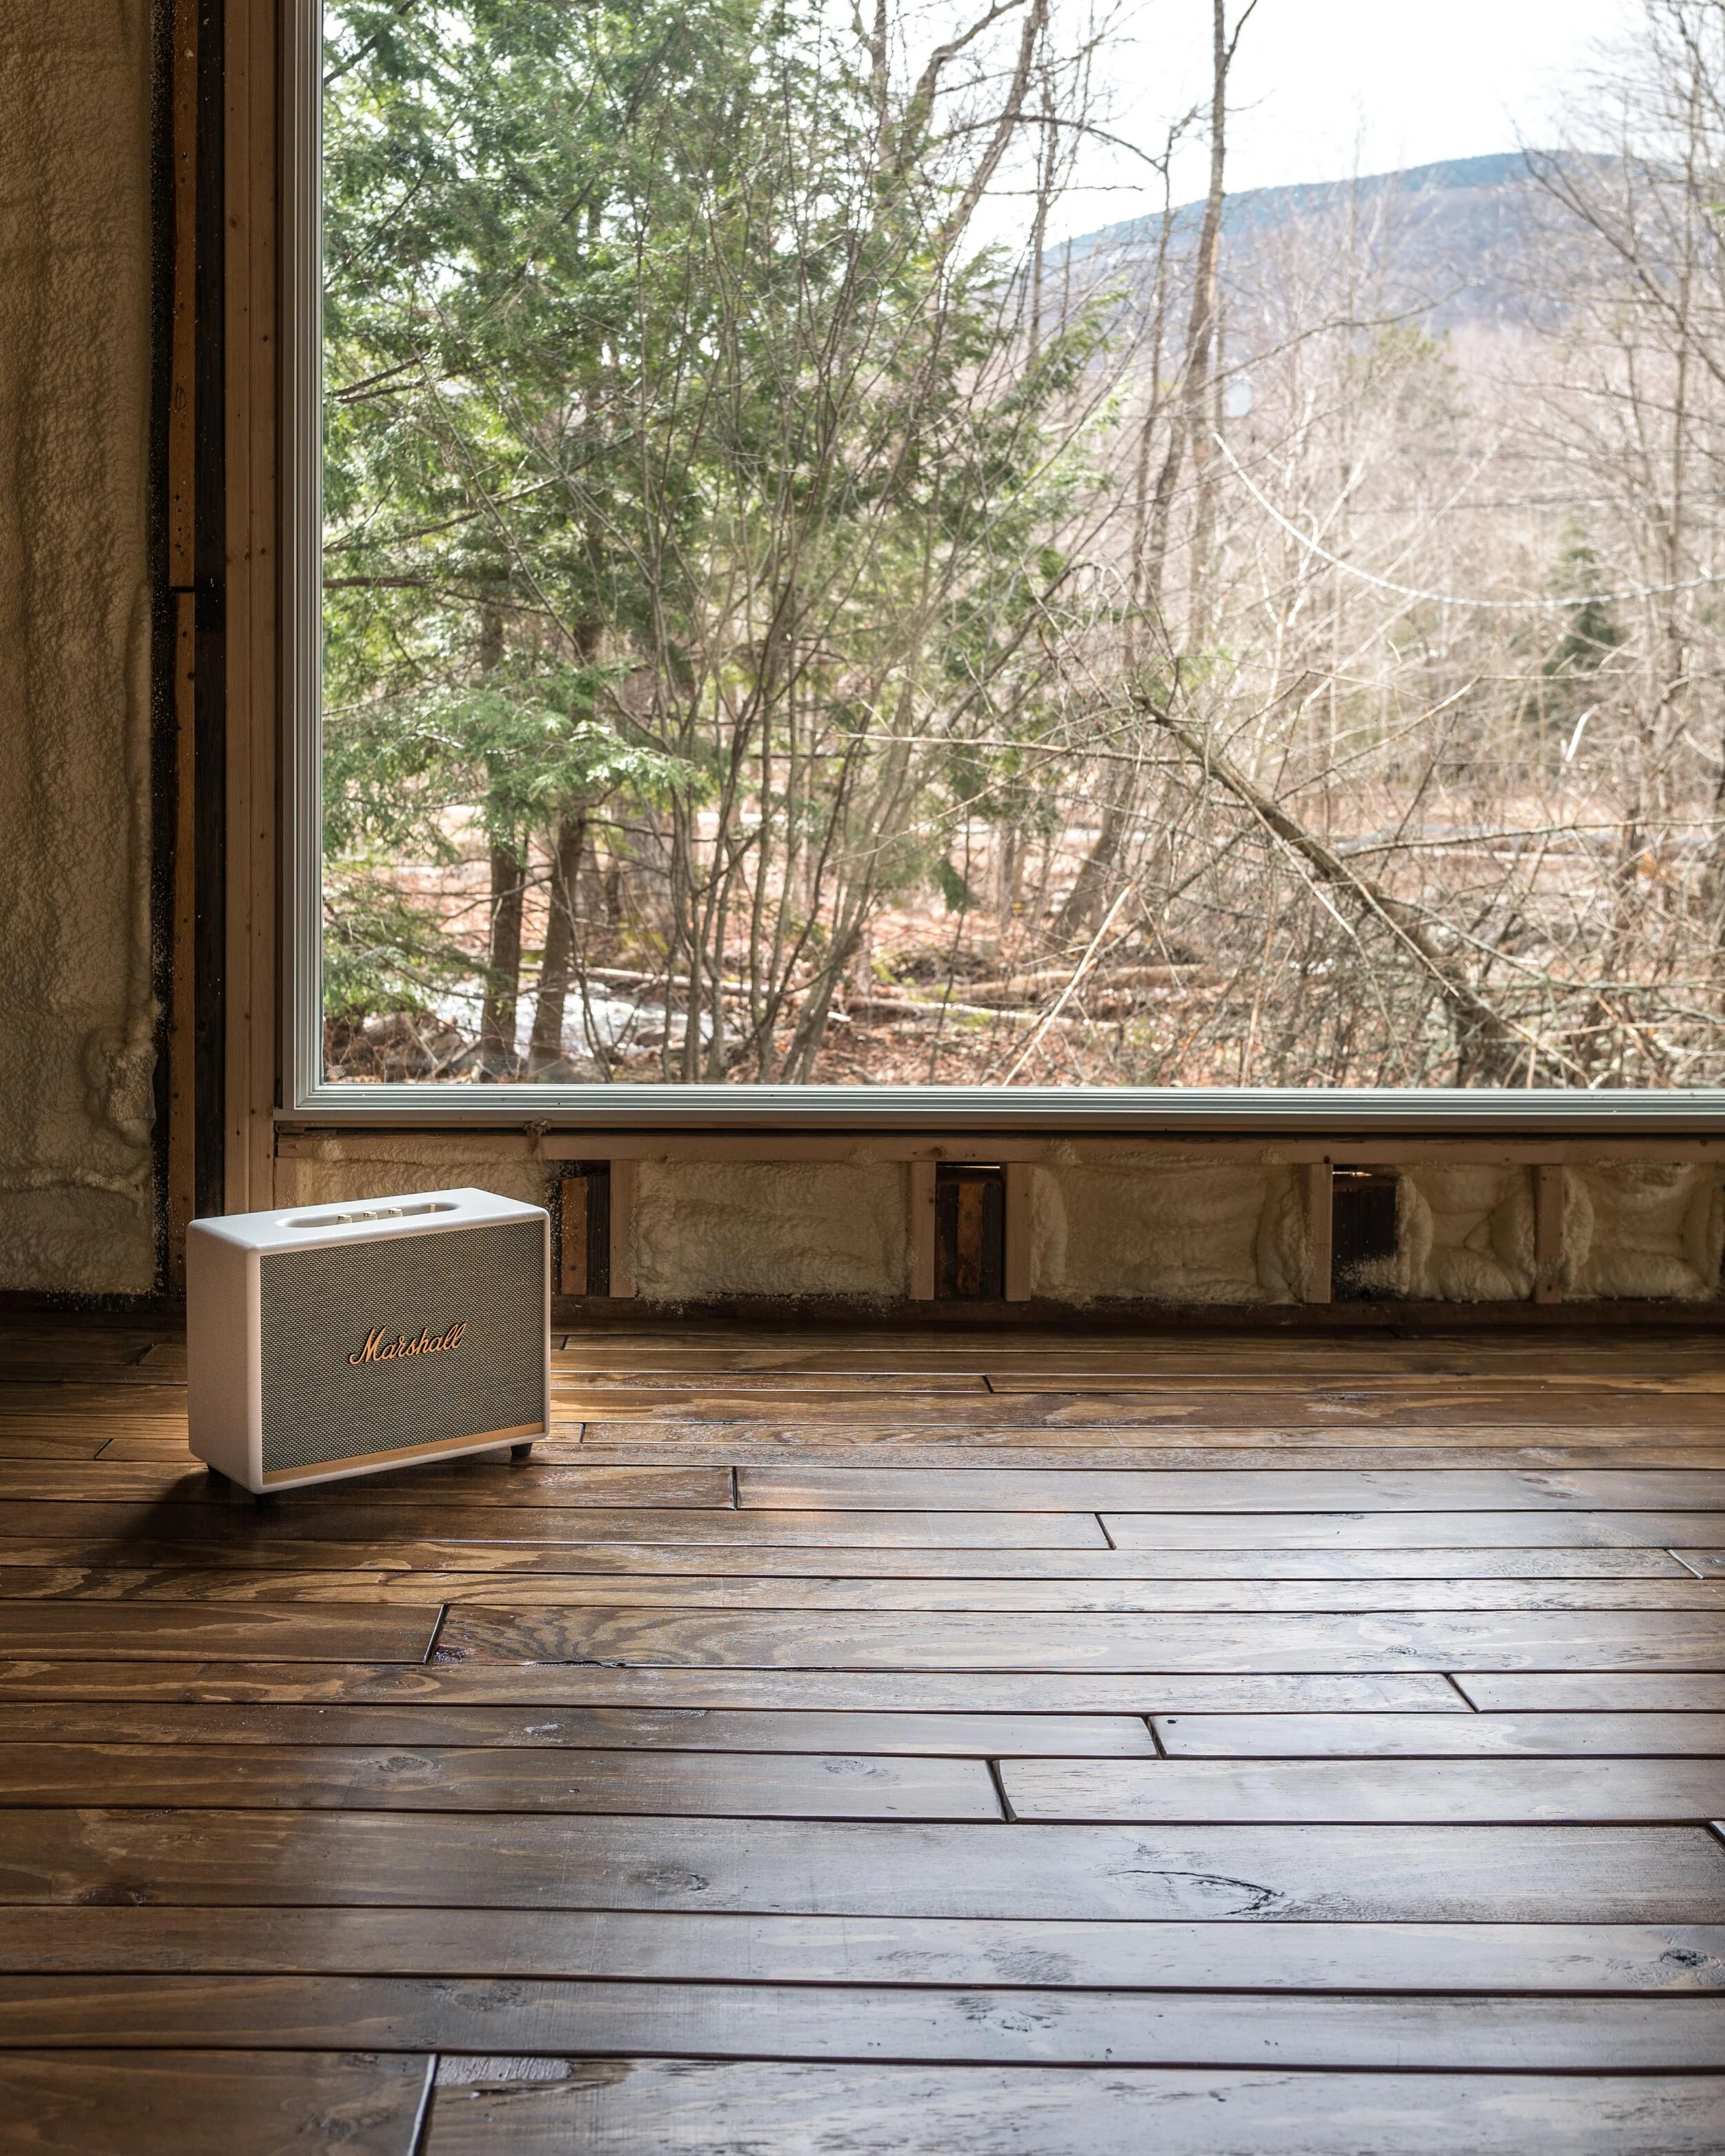
marshall Speaker cranked to 11 to keep the energy up

hammer to mess things up a bit and create a more lived-in look

Minwax Aged Oak Gel Stain (5, 1 qt cans) and 2, 1 gallon cans of Varathane Water Based Poly in Semi-gloss

3 bags of stain rags

Gloves! (stain is impossible to get off your skin)

shop vac for cleaning up alllll the sawdust and debris